Welcome to My Private Network
We provide VPN services with servers in over 44 countries to protect your security and privacy, and allow you to bypass geographic restrictions.
Read more about how our VPN works here.
These instructions will demonstrate connecting to our GBR service using obfsproxy/obfs3 and openvpn, but the same process applies to connecting to any of our supported countries and all of them support obfs3.
Don’t Have a VPN yet? give our Free Trial a go by clicking the button below for 3 full days of unlimited access to both our VPN and MyTelly services.


*3 DAY FREE TRIAL – NO CREDIT CARD REQUIRED
The basic principle is that we use obfsproxy to create a tunnel across the internet. Obfsproxy deliberately obfuscates the connection so it is not recognisable as a VPN or anything else for that matter. Once the Obfsproxy tunnel is in place, we then create an OpenVPN connection over the top of it, and this provides the networking and security. So just to recap, Obfsproxy connects first and then we then run OpenVPN over the top of it.
We have configured obfsproxy to listen on port 2194, as this port is fixed by us, you cannot change it, you have to connect obfsproxy to 2194. All of the other ports used in this example can be changed if you so wish.
Step 1: Download the pre-requisite software
In addition to our own OpenVPN connection software, you will also need to build obfsproxy. Don’t worry, it’s not as technical as it sounds! Obfsproxy requires Python, an open source programming language, so you’ll need to download it. Go to www.python.org and download version 2.7 and install it accepting all the defaults.
You’ll also need to get Visual C for Python, which you can download from http://aka.ms/vcpython27, once you have downloaded it, install it with the default options.
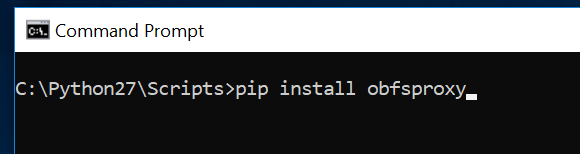
Ok now that you have Python installed, you’re ready to get obfsproxy. Open a CMD shell window and go to C:Python27Scripts, and enter:
pip install obfsproxy
This will download the various requisite modules and build obfsproxy – it might take a few minutes……
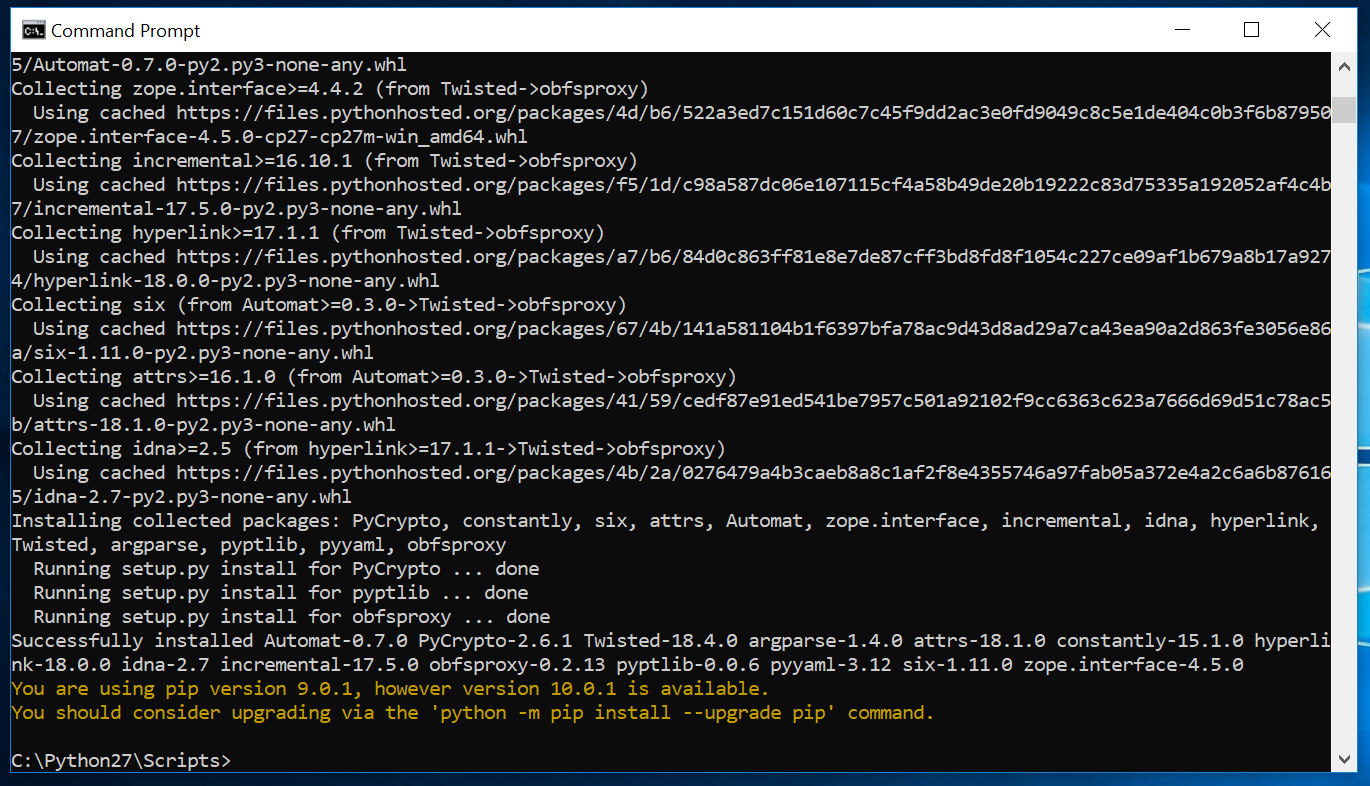
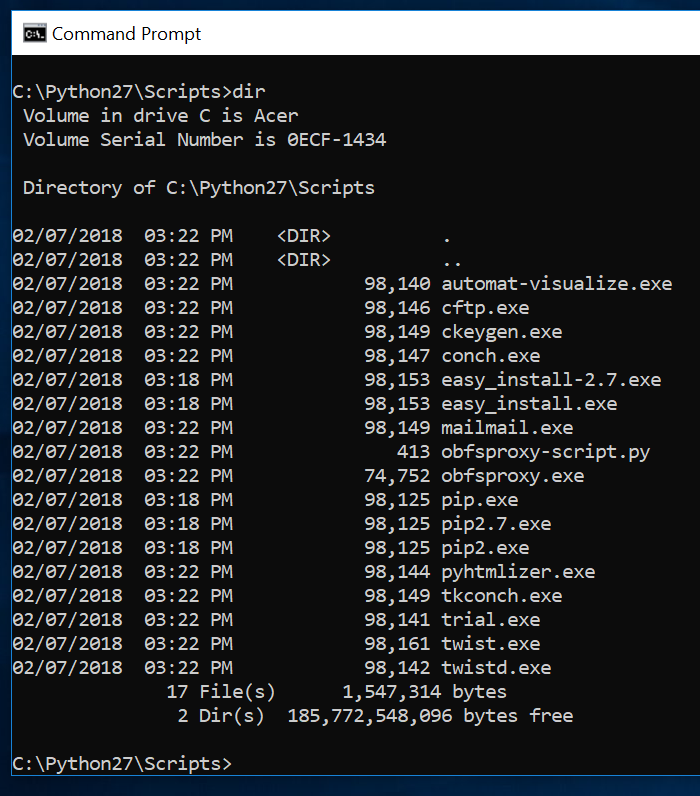
Once complete, you should have the obfsproxy.exe executable in C:Python27Scripts
Fire up obfsproxy as follows:
C:Python27Scripts> obfsproxy obfs3 socks 127.0.0.1:10194
You should get a message about it starting up.

We now have obfsproxy running and waiting for a connection on your local system, port 10194, the next step is to create a new OpenVPN configuration for it.
Step 2: Configure OpenVPN for Obfsproxy
Open a CMD prompt window with Administrator privleges (hit the Windows key, enter cmd and then right click on Command Prompt and choose Run As Adminstrator and Yes to confirm).
Go to the OpenVPN configuration directory, ie
cd “Program FilesOpenVPNconfig”
We’re using GBR as an example, so copy the existing configuration file:
C:Program FilesOpenVPNconfig>copy “MPN GBR.ovpn” “OBFS3 GBR.ovpn”
We then need to edit the new configuration files and make a few changes.
C:Program FilesOpenVPNconfig>notepad “OBFS3 GBR.ovpn”
Edit the remote line and add 2194 to the end, then add
Socks-proxy-retry
Socks-proxy 127.0.0.1 10194
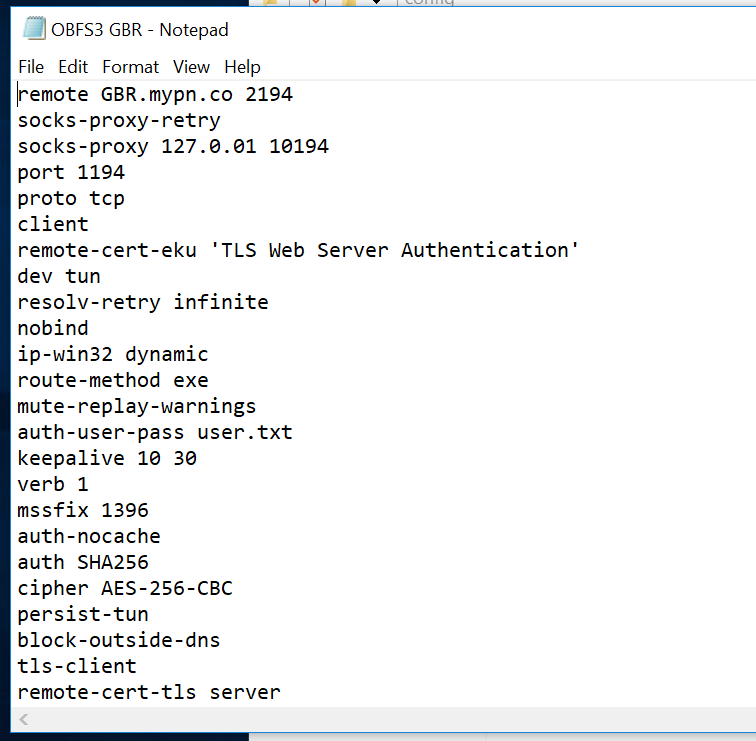
You should end up with a file that begins with this:
remote gbr.mypn.co 2194
socks-proxy-retry
socks-proxy 127.0.0.1 10194
port 1194
proto tcp
client
remote-cert-eku 'TLS Web Server Authentication'
dev tun
resolv-retry infinite
nobind
ip-win32 dynamic
route-method exe
mute-replay-warnings
auth-user-pass user.txt
keepalive 10 30
verb 1
mssfix 1396
auth-nocache
auth SHA256
cipher AES-256-CBC
persist-tun
tls-client
remote-cert-tls server
tls-version-min 1.2
key-direction 1
<ca>
……….
Save the file and exit notepad.
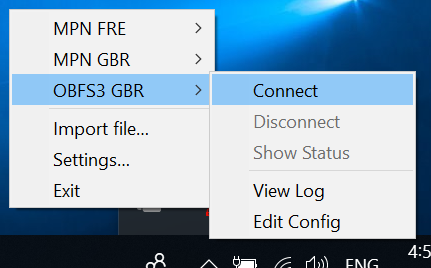
You should now have the option to connect to OBFS3 GBR in your OpenVPN menu, select it to connect
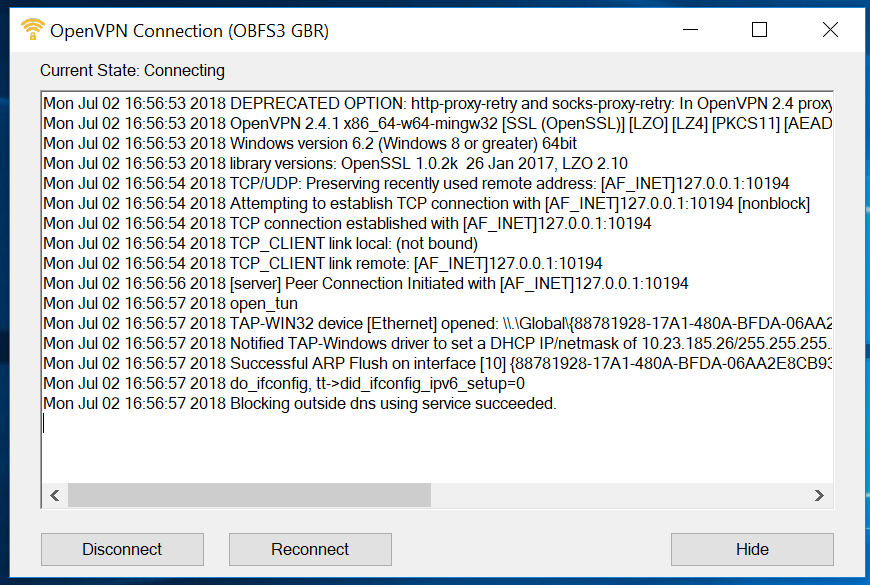
you’ll see the status whilst OpenVPN connects
and after a few moments
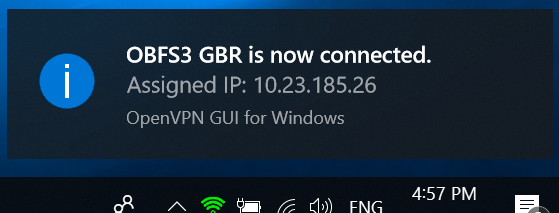
That’s it, you are now connected using OpenVPN via Obfsproxy.
Step 3: Optional – launch Obfsproxy automatically on startup
Once you have this working manually, you might want to automate obfsproxy, you can do this using the Task Scheduler.
Hit the Windows button and start typing Task Scheduler, run as administrator and then create a basic task
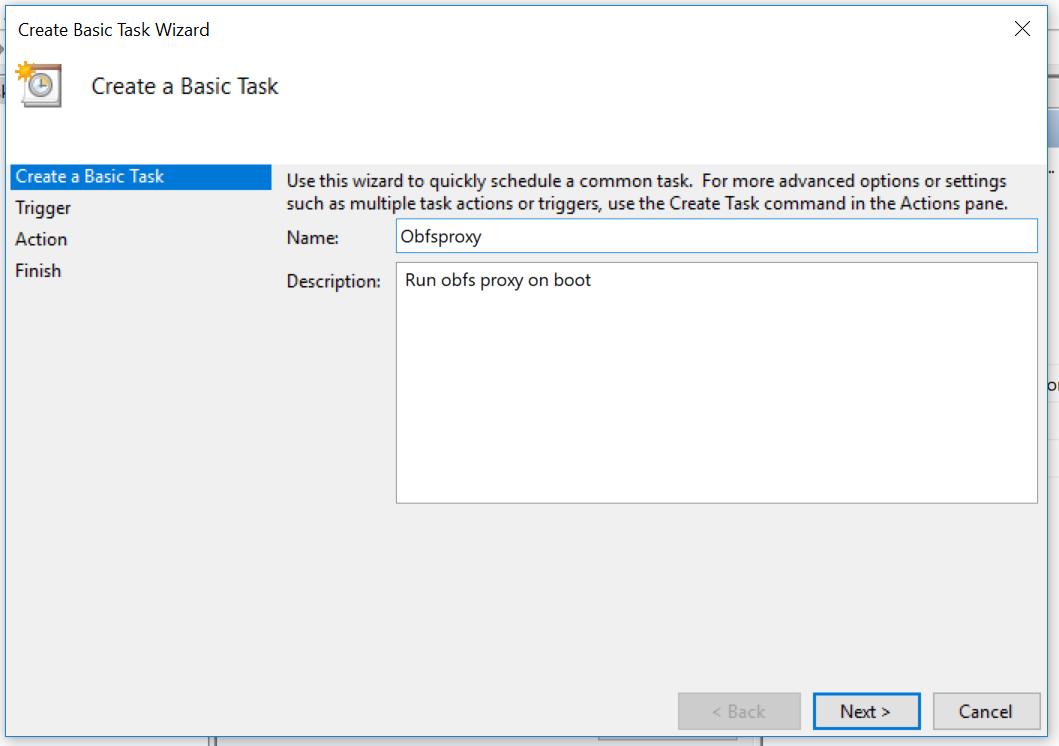
Call it Obfsproxy
You’ll want it to run when the computer starts

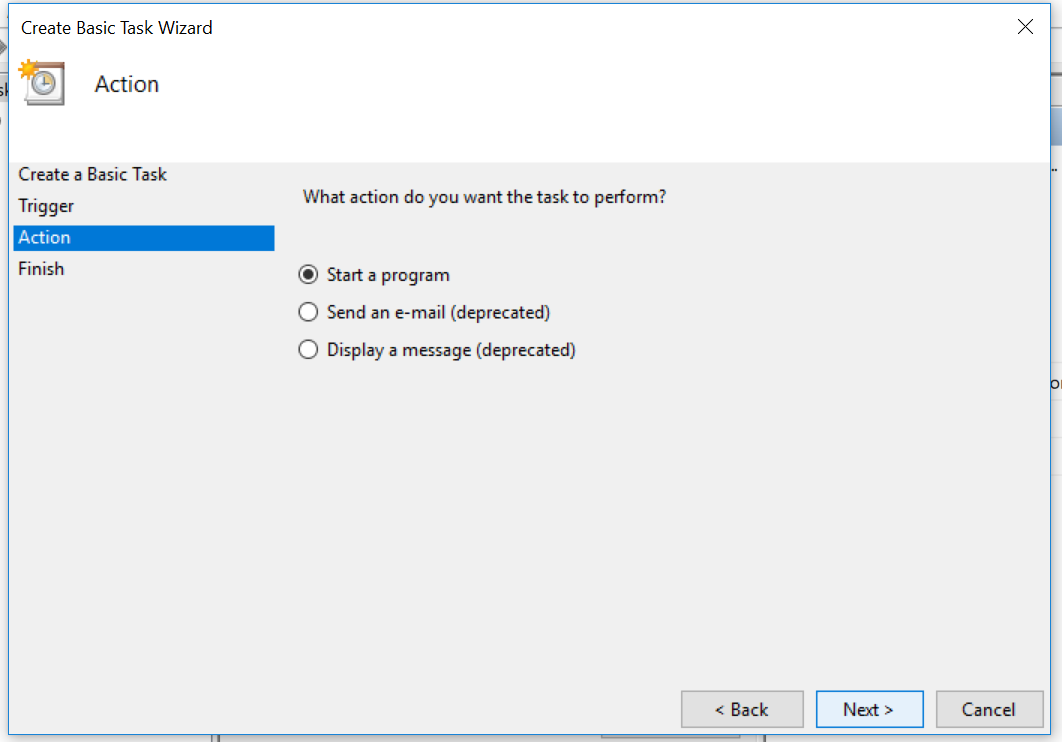
The program should be c:Python27Scriptsobfsproxy.exeThe arguments should be:
–log-file=ob.log –log-min-severity=info obfs3 socks 127.0.0.1:10194
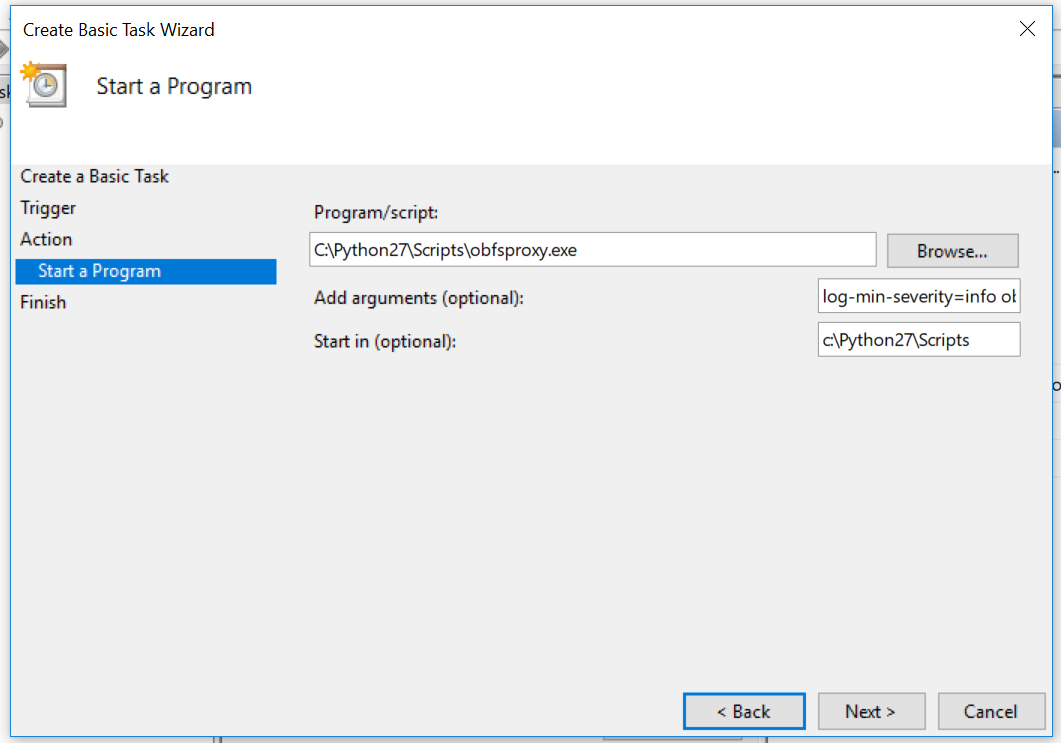
Set start in to C:Python27Scripts
And finish and then open the task properties.

Make sure you select Run with highest privileges and Run whether the user is logged on or not.
Now reboot your computer.
Once you have rebooted, try to connect OpenVPN to OBFS3 GBR, it should now connect without you needing to start obfsproxy manually.
Any Problems?
Unfortunately it doesn’t always go to plan!
If you have any problems or can’t get connected, please email us at [email protected]. We’ll get back to you as soon as possible to assist you.
