The guide below is based on the GUI network settings in Ubuntu.
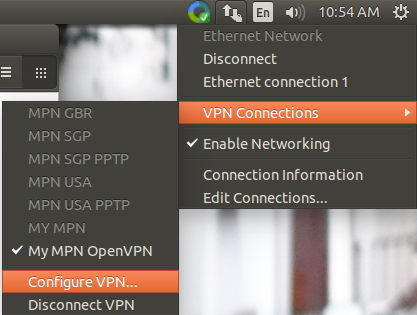
First, please open the VPN settings menu by clicking on the network icon located at the top right hand corner of your desktop, navigating to VPN Connections and selecting Configure VPN as shown in the screenshot below:
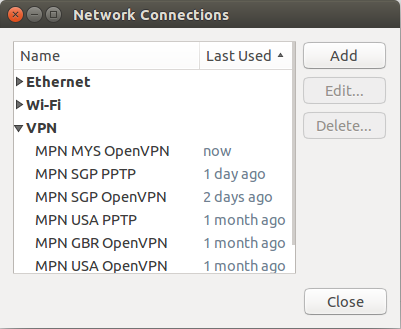
You will now be greeted by the Network Connections menu that will list down your Ethernet, Wifi and VPN connections:
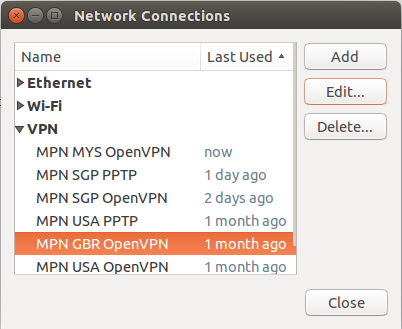
To change the OpenVPN port, please select the OpenVPN connection you want to edit and then click on the Edit button.
Please note, the edit button will appear grayed out if no connection is selected on the left hand side of the Network Connections pop up.
In the following screen, please select Advanced:
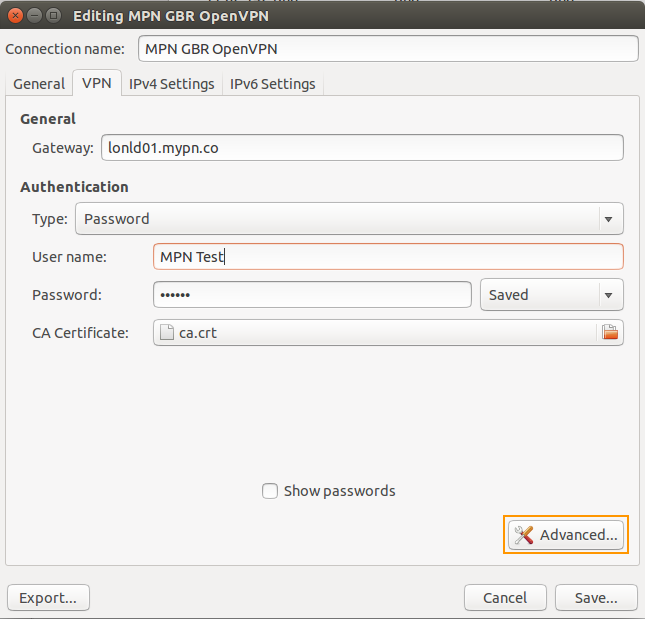
By default, the OpenVPN connection uses UDP port 1194 however if you are having problems connecting via this protocol, you can change the port and connection protocol.
For more details on the differences of the available protocols, please refer to our Knowledge Base article below:
My Private Network supports the following ports:
UDP: Port 1194, Port 4096
TCP: Port 443, Port 1194
Which OpenVPN connection should I use?
To connect to the VPN via the TCP protocol, please ensure that the Use a TCP connection box is checked as shown in the screenshot below:
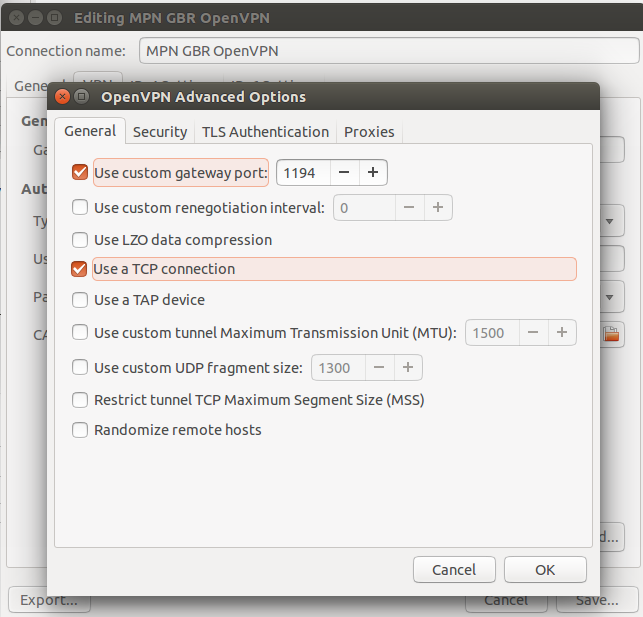
Once the configuration has been entered as shown above, simply click on OK to save the settings.
Give the VPN another try and if you’re still unable to connect, please contact our technical support team at [email protected] and we’ll do our best to assist you further.
