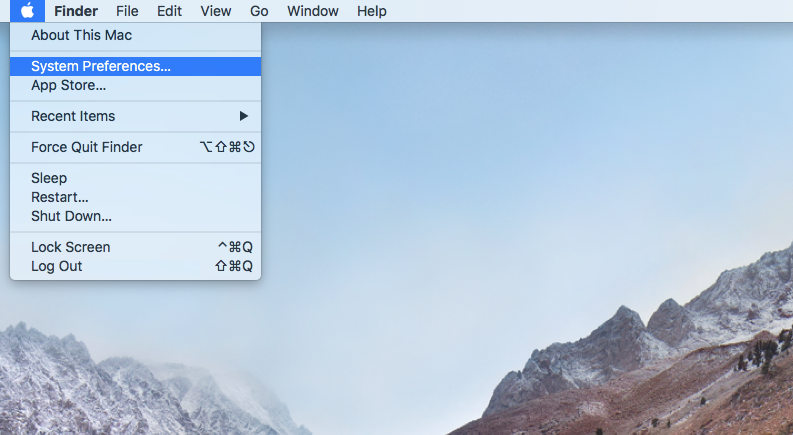
Step 1
Click on the Apple icon on the top-left side of your desktop and select System Preferences.
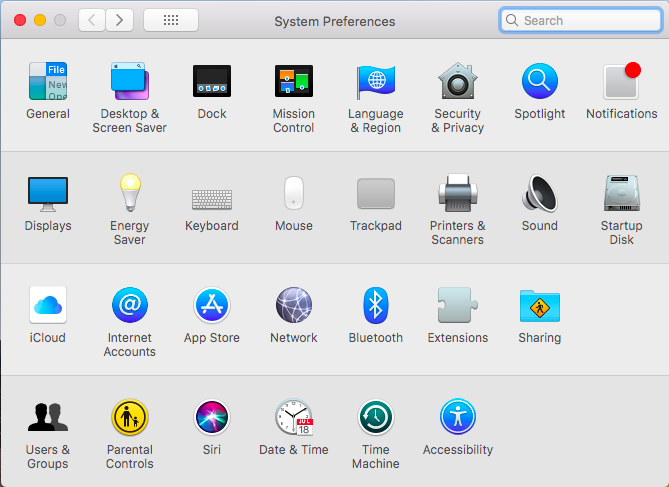
Step 2
Select Network.
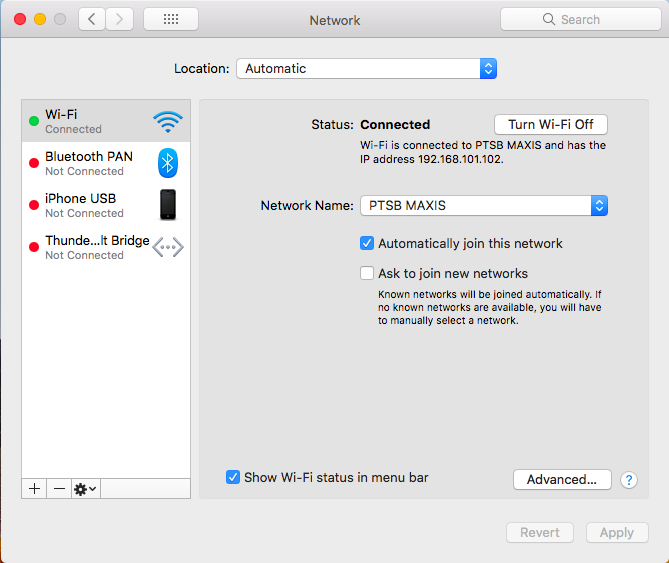
Step 3
In the following screen, please ensure your current Internet connection is selected. In this example, we’re connecting via Wi-Fi.
Once you’ve selected your current Internet connection, please click on Advanced.
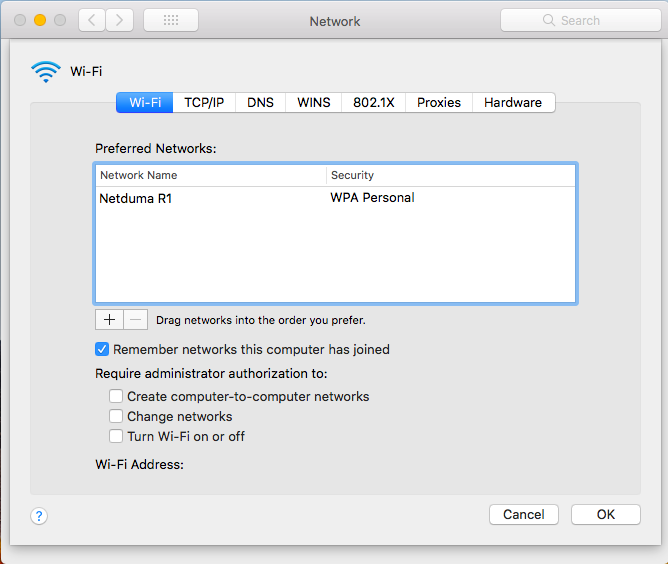
Step 4
In the Advanced menu, please select DNS.
Step 5
Under DNS, you will see your default DNS server address, which will usually be your router IP address.
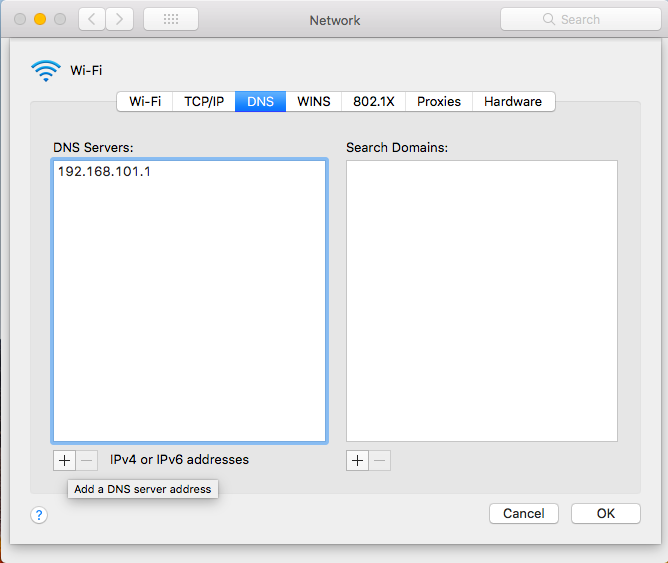
Step 6
Click on the + sign at the bottom of the DNS Servers box and enter the following DNS addresses:
8.8.8.8
8.8.4.4
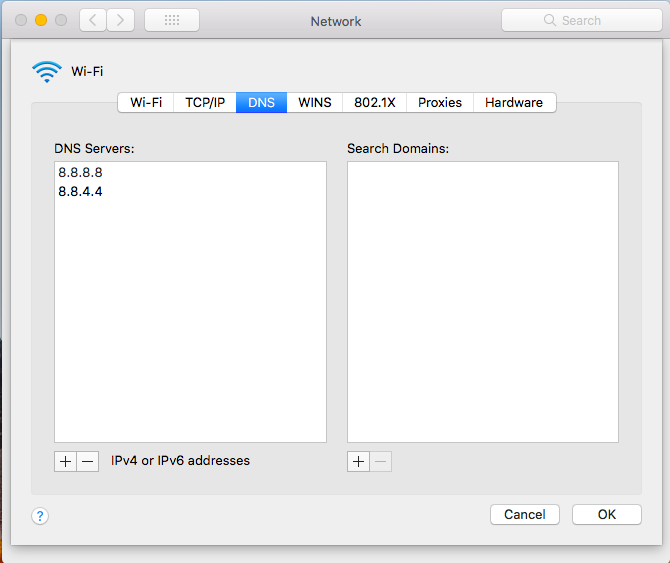
Once the DNS addresses have been added, click on OK.
Step 7
Click on Apply to apply the saved settings.

Google DNS is now set on your Network settings in OS X.
How to Set Google DNS on your device / system
If you have any problems or need further assistance, please email us at [email protected]. We’ll get back to you as soon as possible and try to help.
