STEP 1
First of all, we need to install the OpenVPN plugin that is available from the Unofficial OpenElec repository.
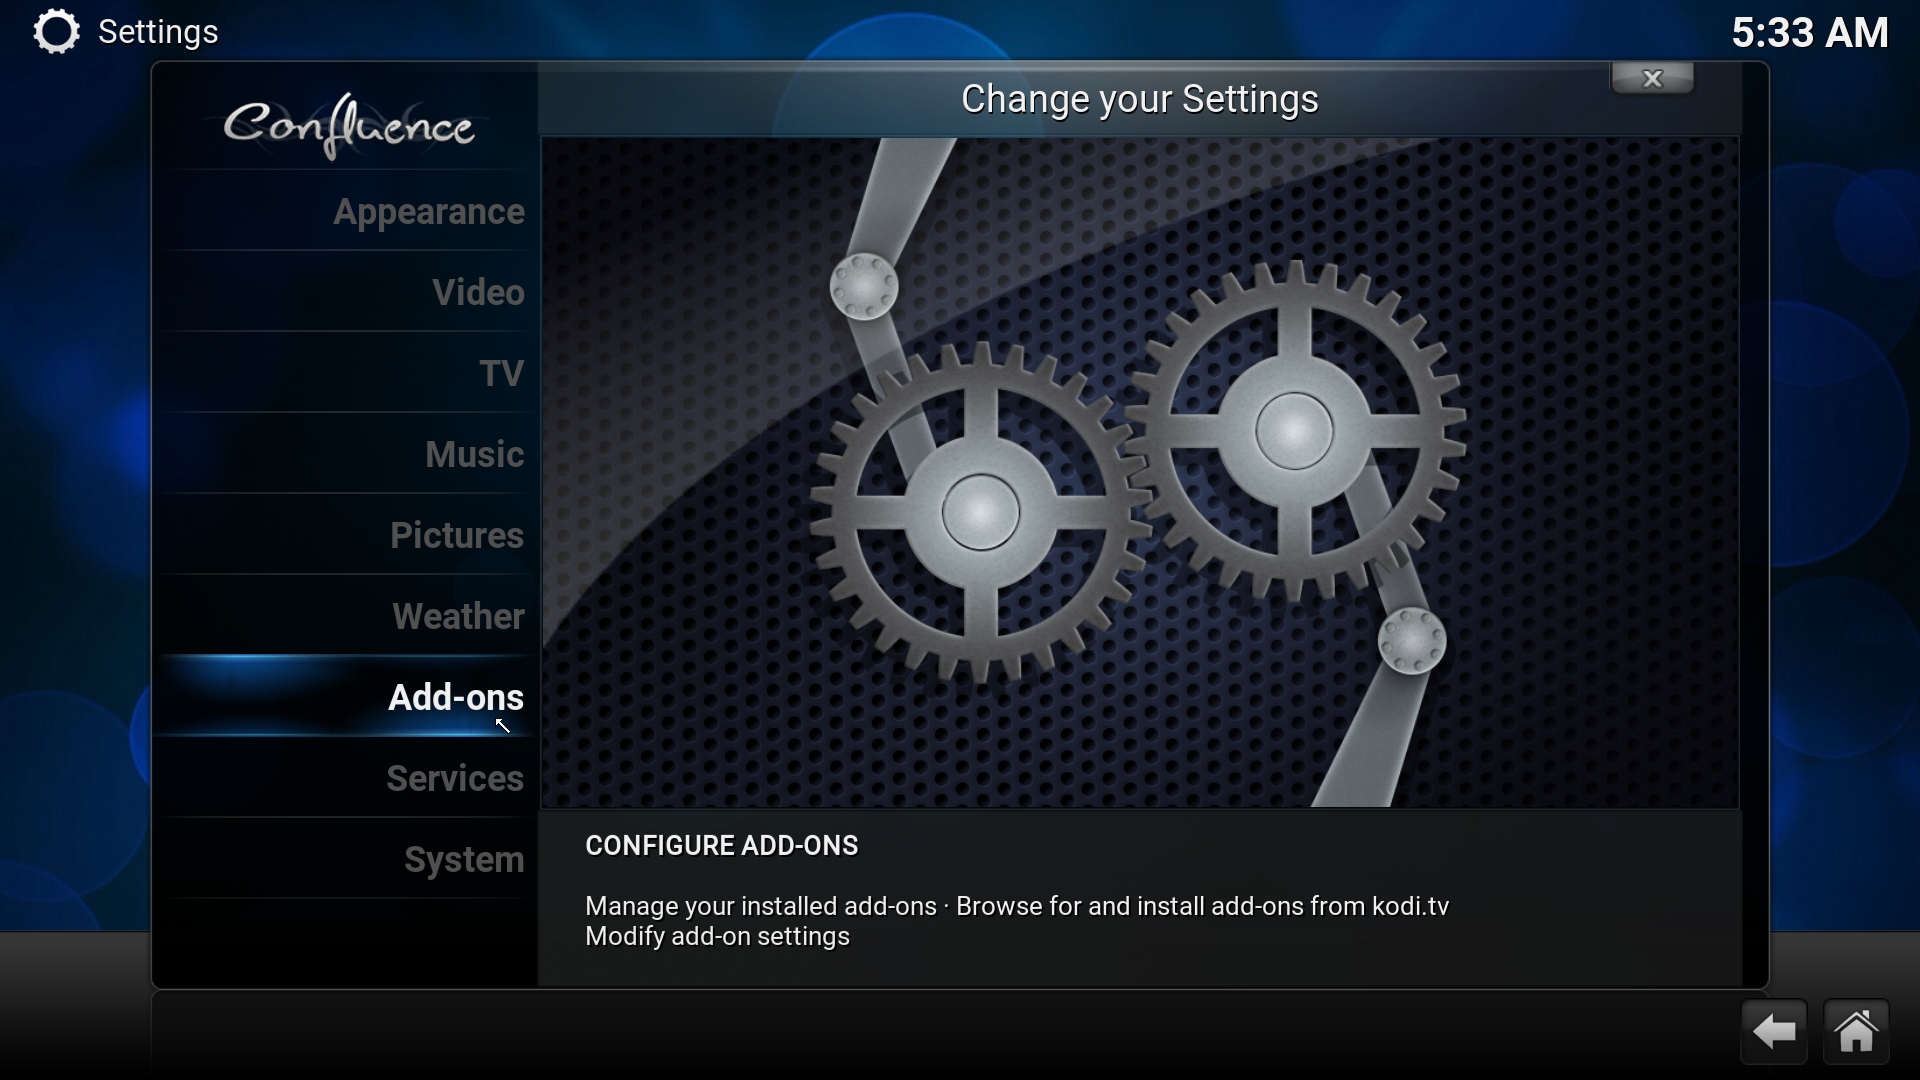
From the Kodi main menu, go to System > Settings
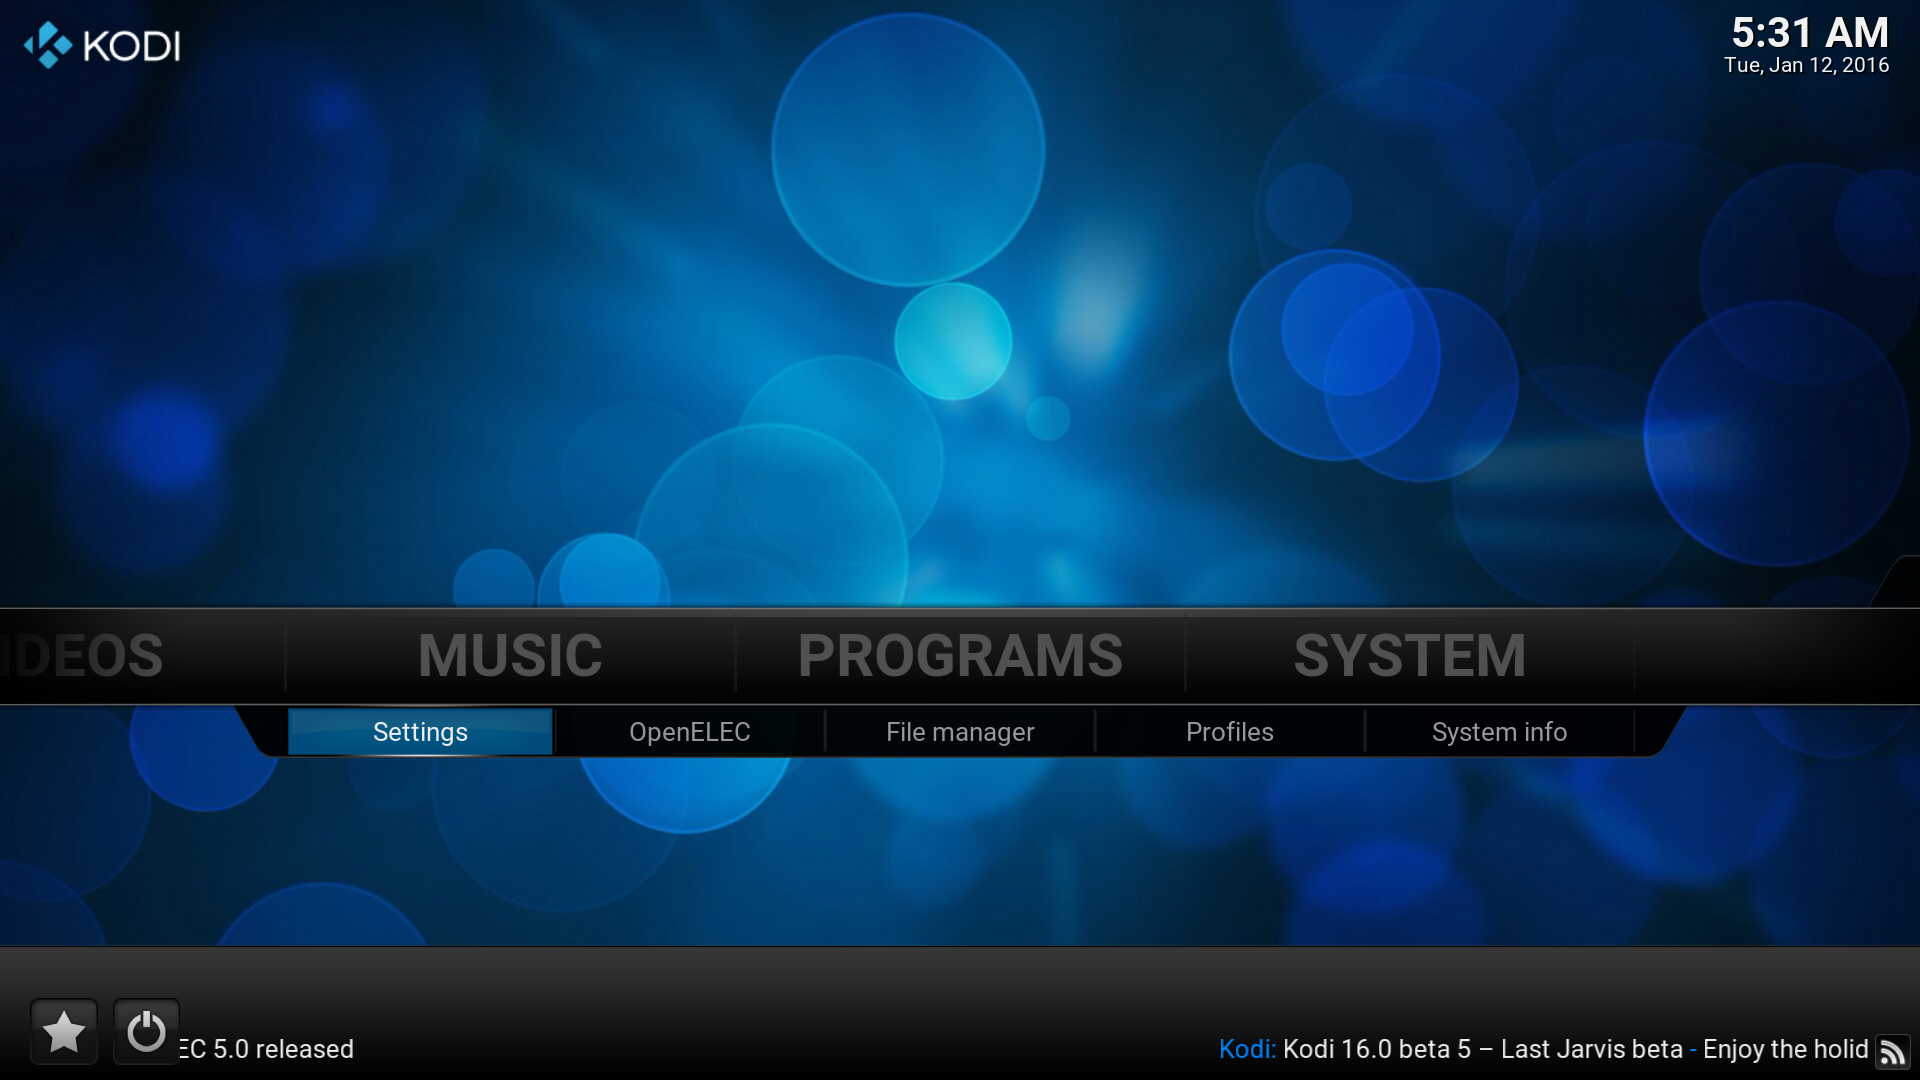
Under Settings, go to Add-ons.
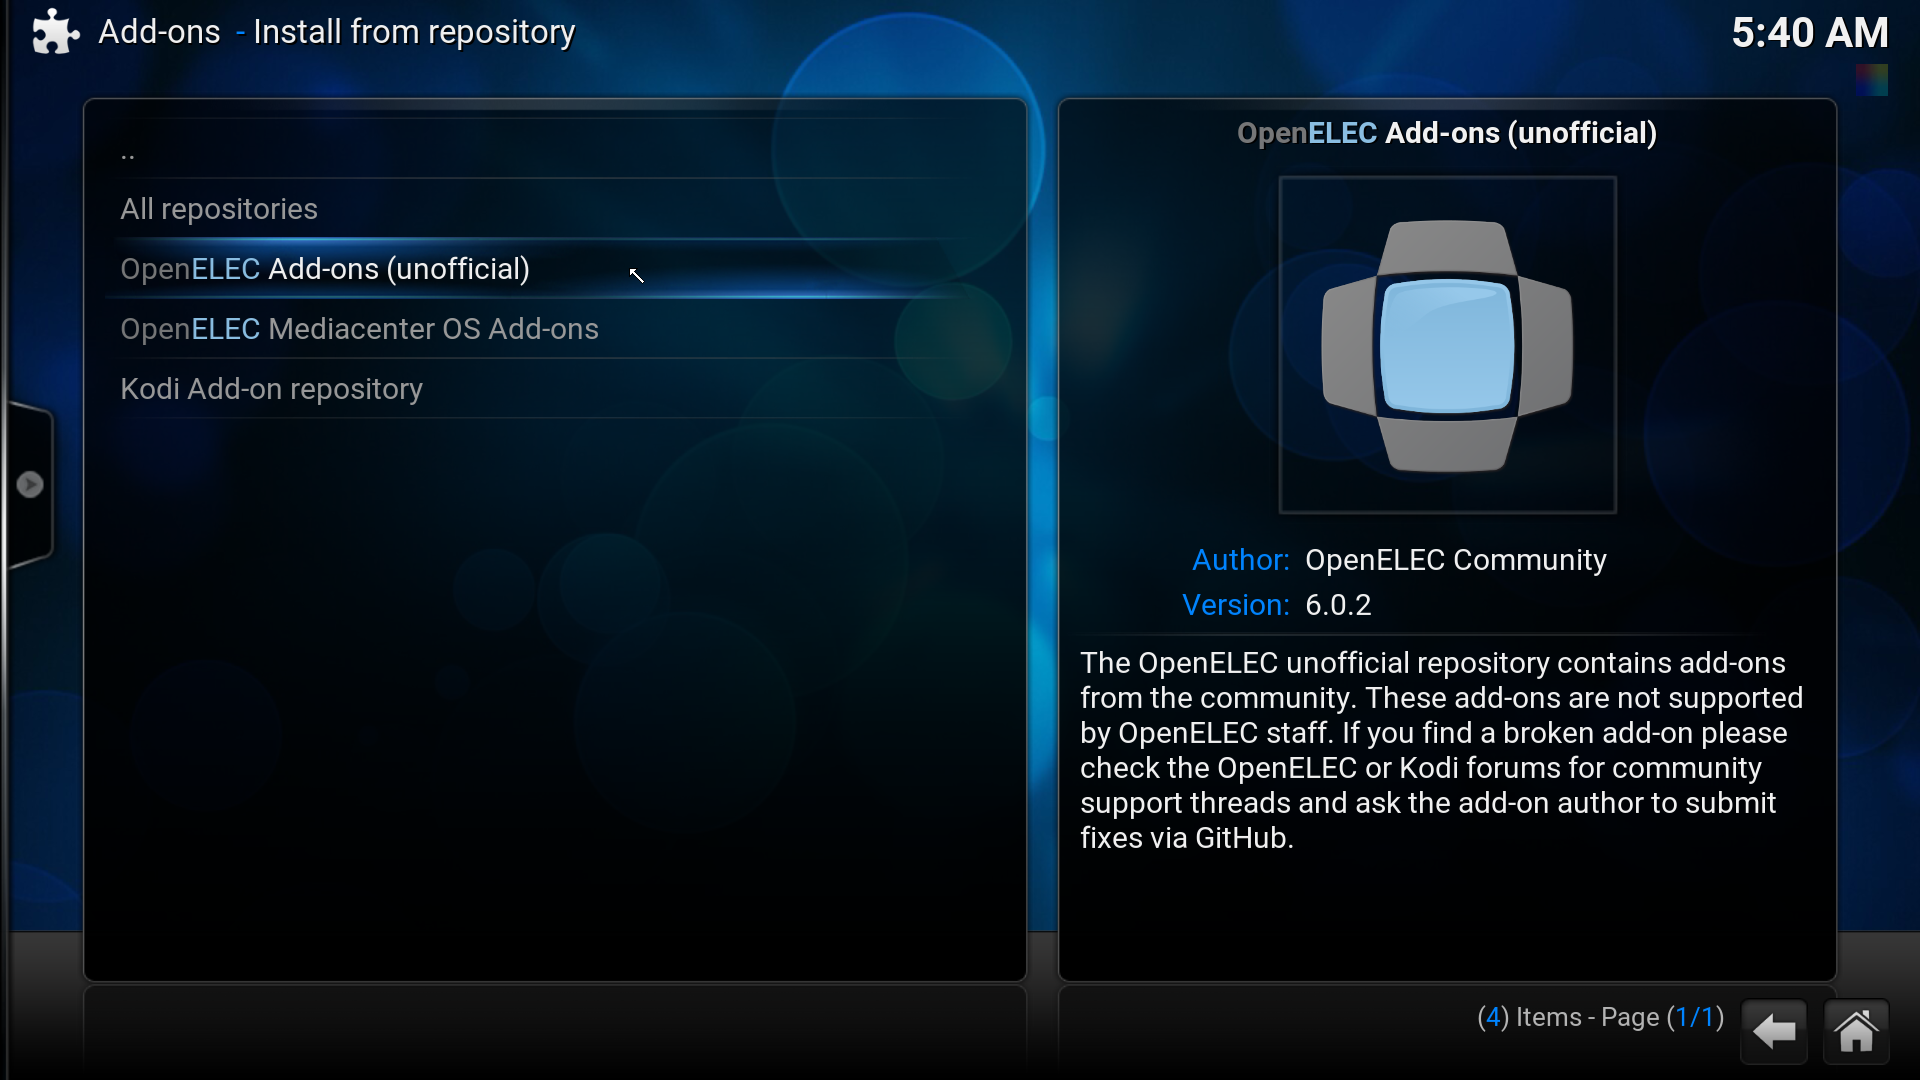
In the following screen, please follow the steps below to install the OpenVPN plugin:
1) Select Install From Repository
2) Click on OpenELEC Mediacentre OS Add-ons and select Add-ons Repository
3) Select OpenElec Add-ons (Unofficial) repository and click to Install it.
Once installed, go back to the screen shown below and click on OpenElec Add-ons(Unofficial):
In the following page, please go to Program add-ons, look for openvpn and click on it to Install.
STEP 2
Now we will need to copy some configuration files that is required for the VPN to your OpenElec device. While you can download the files to your computer and then copy it your device manually through a USB drive , we recommend downloading and editing the file directly in your device via SSH as you will use that to launch the VPN.
To do so, you will first need to find the IP address of your device. To do so, simply power up the OpenElec device and go to;
System > OpenElec > Connections
You should now see the Network address of your OpenElec device as shown in the screenshot sample below:
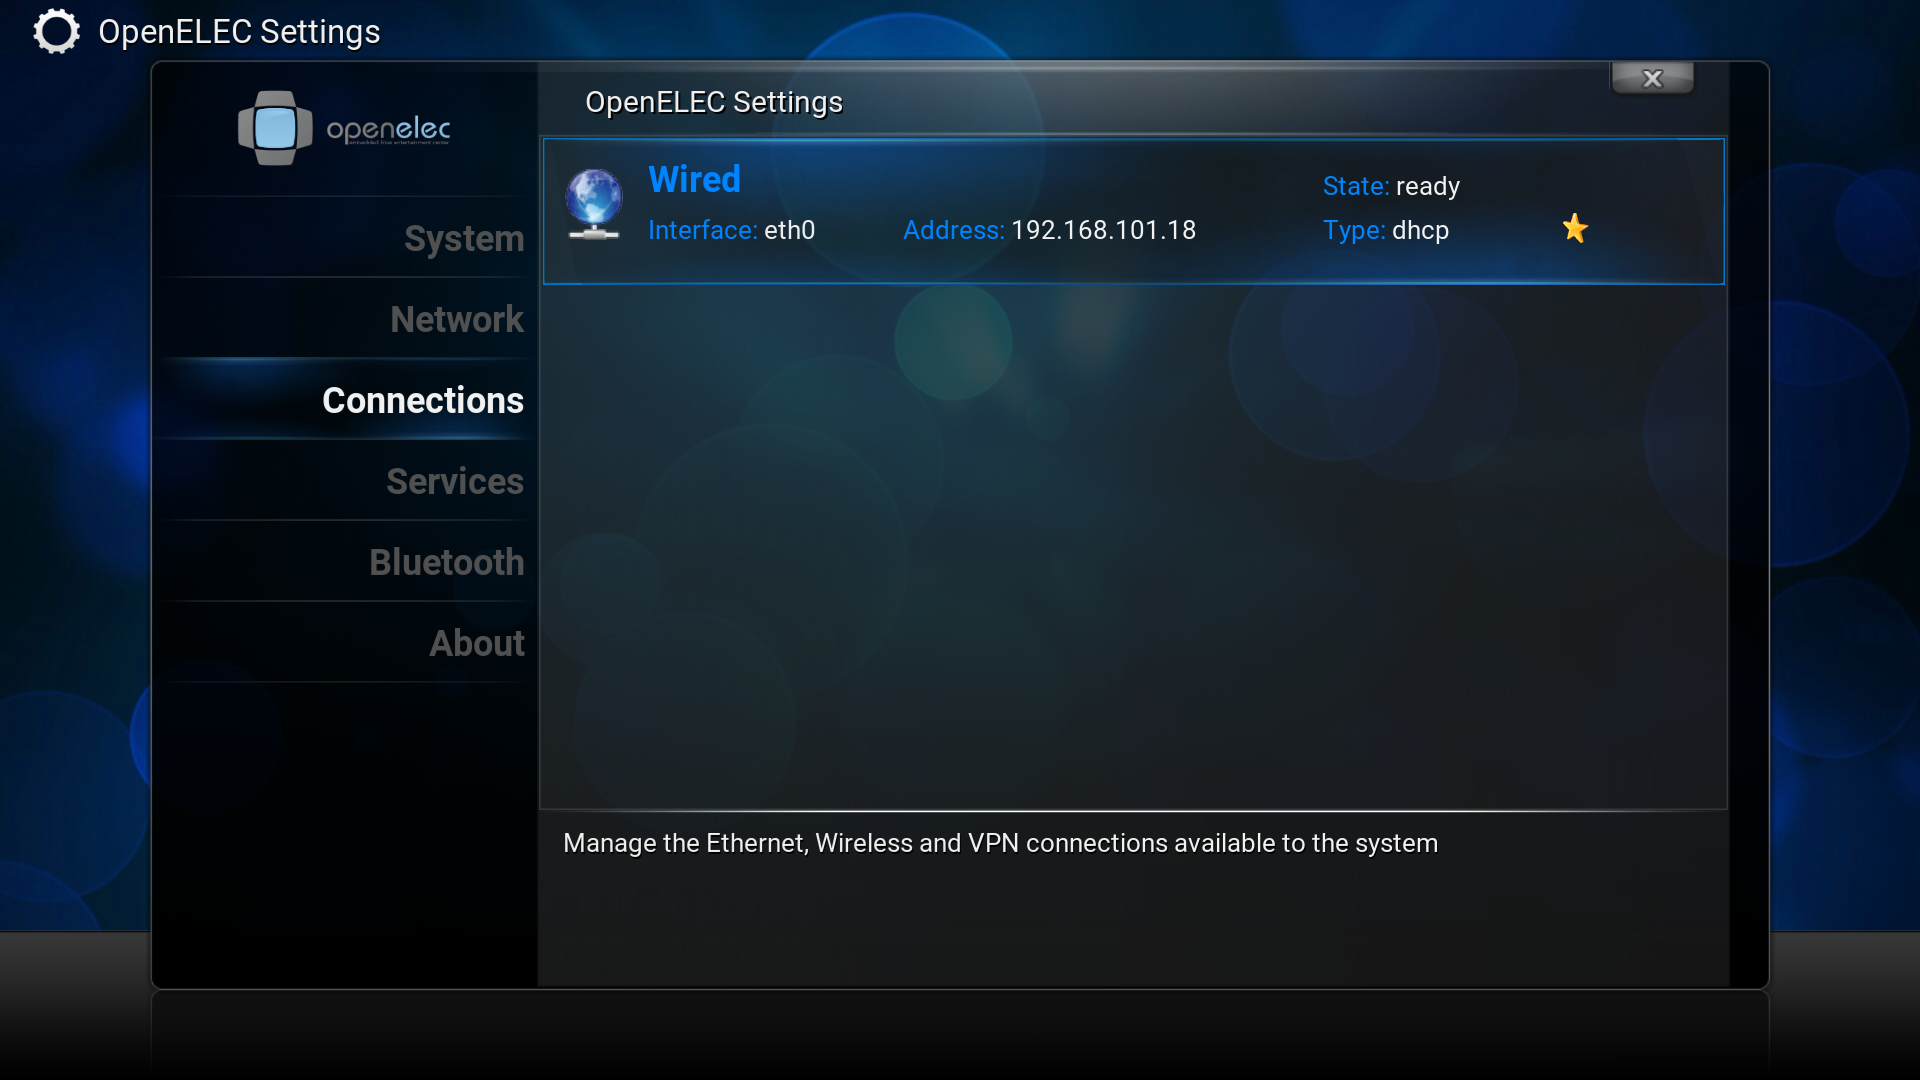
In the sample screenshot above, the IP address for this particular OpenElec device is 192.168.101.18
Please note that your IP address will be different, depending on your network configuration.
Once you have the IP address of your OpenElec device, SSH into the device using any SSH client, such as PuTTY.
In this example, we’ll be using PuTTY to finalize the connection process.
Enter the IP address of the OpenElec device in the ‘Host Name’ field and click Open.
At the login prompt use the following credentials:
Username: root
Password: openelec
Navigate to /storage/.config/vpn-config/
cd /storage/.config/vpn-config/
Now download the files below to that directory, easiest way is to just copy the code listed below and it should download them to your device.
1) The certificate file:
CA Certificate file
wget www.mypn.co/files/ca.crt
MPN OpenVPN configuration file
wget www.mypn.co/files/openelec/MPNVPN.ovpn
Password file
wget www.mypn.co/files/openelec/pass.txt
STEP 3
Once you’ve downloaded all 3 files, it’s time to edit the OpenVPN configuration and Password file.
vi /storage/.config/vpn-config/MPNVPN.ovpn
The content of the configuration file will be as below:
client
remote SERVERNAME
dev tun
proto udp
port 80
resolv-retry infinite
nobind
#ip-win32 dynamic
route-method exe
mute-replay-warnings
auth-user-pass /storage/.config/vpn-config/pass.txt
ca /storage/.config/vpn-config/ca.crt
keepalive 10 30
verb 1
mssfix 1396
Please replace SERVERNAME with the server you’re trying to connect to, ie. gbr.mypn.co if you’re subscribed to our UK plan.
Note: If you wish to use our Free service, the servername that you need to use is fre.mypn.co and your connection will be rotated between different countries we have in our Free VPN cluster.
For the full list of servernames that you can use, please refer to our Knowledge Base Article.
Save that file and edit the pass.txt file with your active MPN Username and Password.
vi /storage/.config/vpn-config/pass.txt
Your MPN username
Your MPN password
You should have all these 3 files in the same location. To confirm, run ls and the output should be as such:
OpenELEC:~/.config/vpn-config # ls
MPNVPN.ovpn  ca.crt       pass.txt
Note: The OpenVPN configuration can be renamed to anything pertinent to your connection i.e MPNGBR, MPNUSA etc but please take note of the spacing.
STEP 4
Before we start the VPN, if you’d like, you can perform a quick network test to confirm that your OpenElec Internet connection is up and running and that you’re currently connected to your local ISP.
Type in the following command and press enter:
curl ifconfig.co
It should show you an IP address, which should be your current external IP.
To confirm this, simply point your PC browser to http://my-private-network.co.uk/ipinfo
The IP address shown on our website will be the same as shown on the SSH command prompt.
Next, in the command prompt, please enter the following:
openvpn /storage/.config/vpn-config/MPNVPN.ovpn &
The & operator runs the command in the background so you can continue using the terminal to check on the connection status.
Note: You can just type in openvpn MPNVPN.ovpn & straight away if you are in this directory /storage/.config/vpn-config/
The VPN service should now start and you’ll see the VPN connection logs like the one shown in the sample screenshot below:
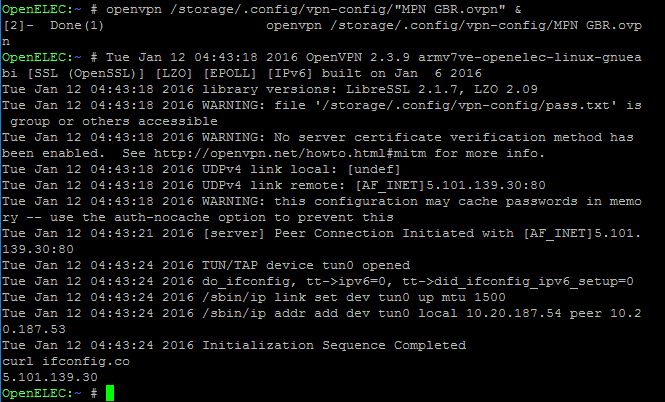
With the connection now complete, confirm that the VPN connection is complete by entering
curl ifconfig.co
You should now see a different IP address from what was shown before.
Congratulations, you’re now connected to My Private Network VPN service on your OpenElec device!
If you happen to have any problems or simply can’t get connected, please email us at support@my-private-network.co.uk and we’ll get back to you as soon as possible to assist.
